Introduction.
Custom Textures are basically images that you can upload to NetworkMaps. These images can be then applied into the bases of your diagram.
Managing your Custom Textures.
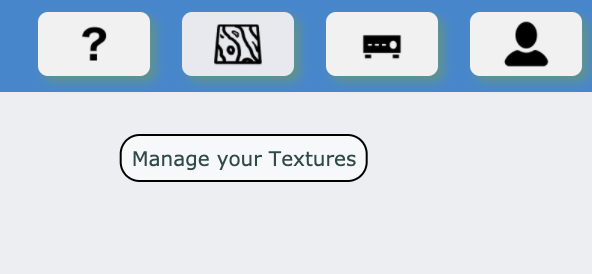
When you log in to NetworkMaps, on screen where you have your list of network diagrams, there is a button on the top right corner that will take you to the Custom Textures Management screen.
Once you click on this button, you will be take to the Custom Texture manager screen. On this screen (on the left) you will have a list of your textures and a button to upload a new one (Add).

If you click on any texture name, the texture will appear on the right panel. There you can rename it (when you import it, the name will be the name of the imported file), or delete. Please take into consideration that if you remove a texture, there might be diagrams that are using it. The image itself will be still stored on the server, so these diagrams will still work. But you won't be able to use it on new diagrams.
Using Textures on Diagrams.
On a diagram, open the base settings of the base you want to modify ('Element Actions' -> 'Base' -> 'Settings' or quick access key 'v' and then click on the base). On the base settings window, 'Floor Texture' dropdown, you can now see your custom textures as an option.

You can also set 'Texture U' and 'Texture V' to a value of 0 if you don't want the texture to repeat itself on the floor.
 Follow @masshandra
 NetworkMaps